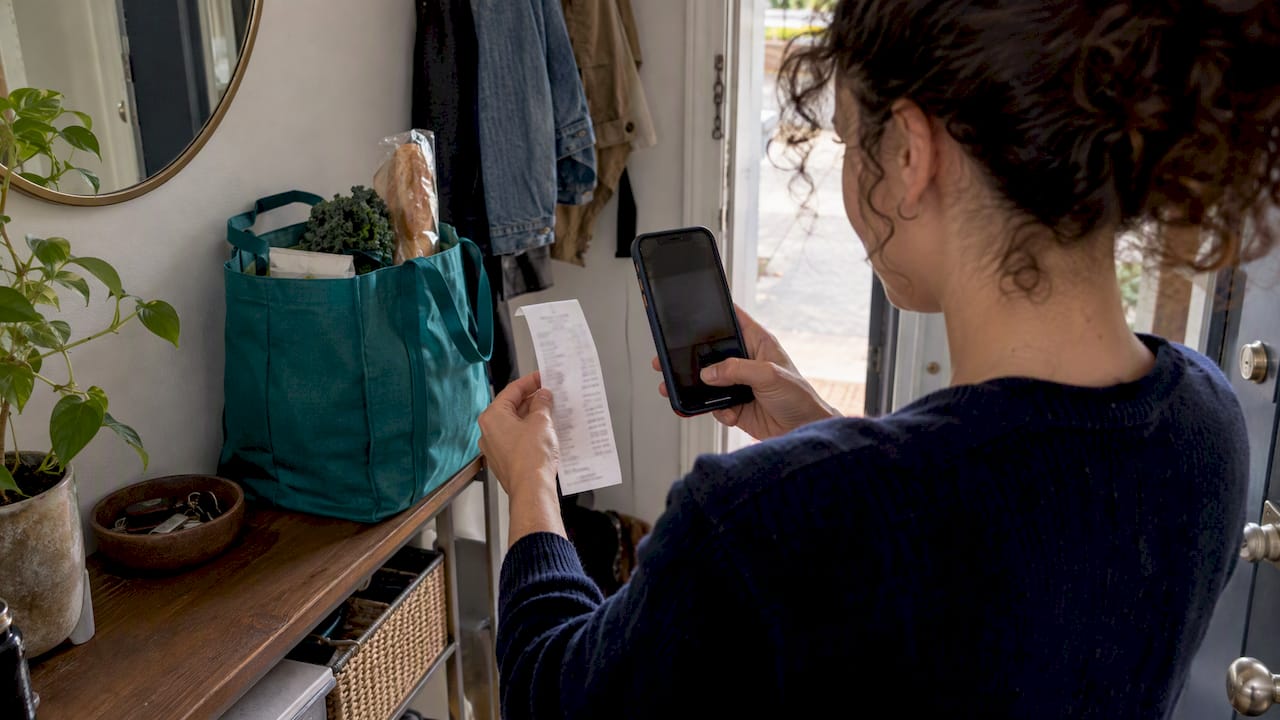
The fastest, most reliable way to track receipts for budgeting is to scan them into a budget-aware app that reads the text (OCR), sorts the purchase into a category, and syncs with your bank feed. This matches what the IRS expects for recordkeeping and what the CFPB recommends for spending awareness, and it is the core workflow we built Vala around.
TL;DR:
- Scan receipts at purchase, then spend 15 to 30 minutes weekly checking OCR totals and categories before errors distort monthly summaries.
- Export monthly or quarterly summaries as CSV or PDF, and reconcile them with bank statements rather than relying on screenshots.
- Retain tax records for at least three years, and keep them longer when underreported income or specific deduction rules apply.
- Keep three to five broad spending categories that match real budget decisions, since excessive subcategories can hide useful patterns during monthly reviews.
- Small businesses should separate personal and business receipts into distinct categories or accounts from the start, especially when both use one bank account.
Table of Contents
- What features matter in receipt-tracking tools
- Step-by-step workflow to turn receipts into budget summaries
- Recordkeeping, tax readiness, and audit expectations
- Common mistakes and quick fixes
- How Vala maps to the receipt-tracking workflow
- Our take on sticking with the habit
- Try the workflow yourself
- FAQ
- Sources
What features matter in receipt-tracking tools
Not every receipt app does the same job. Before you commit to one, check it against a short list of capabilities that actually affect your budget accuracy and your stress level come tax time.
Capture matters first. You want a mobile camera that reads a receipt instantly, handles multi-page receipts (think itemized grocery runs), and can pull data from forwarded emails or scanned statements when you do not have the paper in hand.
Data quality comes next. A tool that only photographs a receipt is not much better than a paper folder. Look for line-item extraction, so the app separates “groceries” from “household supplies” on one Target run, plus an easy way to edit or verify what the OCR got wrong.
Automation is where the real time savings show up:
- Auto-categorization sorts each purchase without you tapping through a menu every time.
- Recurring charge detection flags subscriptions and bills before they quietly drain your account.
- Merchant mapping learns that “SQ *CORNER CAFE” means coffee, not “miscellaneous.”
Integration and export decide whether your receipts are actually usable later. You want bank sync so transactions match automatically, plus export options such as CSV or PDF for taxes, loan applications, or a small-business bookkeeper. Forbes Advisor’s review of receipt scanner apps points out that tools integrating with bank feeds or accounting software cut down reconciliation work and improve accuracy, which is exactly the gap that trips up spreadsheet-only budgets.
Storage and retention round out the checklist: a searchable archive, retention settings you control, and access limits if you share an account with a partner or a bookkeeper. If you run a household or a small business with more than one person entering expenses, batch upload and multi-user access save real time every week. Our comparison of budgeting and expense tracking apps breaks down how different tools handle these features if you want to compare before choosing.
Step-by-step workflow to turn receipts into budget summaries
A receipt-tracking habit only works if it fits into a routine you will actually keep. Here is a simple cadence built around daily capture, weekly cleanup, and monthly review.
- Capture at the point of sale. Scan the receipt into your app within seconds of paying. If a receipt is not available, note the amount and category before you leave, using what budgeting coaches call the two-second rule.
- Set up automated imports. Connect email receipts and bank statements so recurring purchases import themselves instead of waiting for you to type them in.
- Run a weekly verification pass. Spend 15 to 30 minutes checking that OCR read the amounts correctly and that categories make sense, especially for shared or split expenses.
- Export a monthly summary. Pull a CSV or PDF report, reconcile it against your bank statement, and run a quick check for money leaks like forgotten subscriptions.
- Handle cash and mileage separately. Log cash purchases the same day using the two-second rule, and track mileage with a simple note of odometer readings or trip purpose if it affects your budget or taxes.
- Tag shared expenses as you go. If you split costs with a partner or roommate, mark them immediately so the split does not have to be reconstructed later.
Each capture should take about 30 seconds. The weekly review is the part people skip, but it is also what keeps small errors from piling into a confusing month-end mess.
Pro Tip: Keep a sticky note or an envelope in your car or bag as a backup for days you forget your phone. A physical fallback means you never lose a receipt to a dead battery.
For a deeper look at building this into a lasting habit rather than a one-month experiment, our guide to expense tracking best practices walks through pacing it for real life.
Recordkeeping, tax readiness, and audit expectations
Budgeting and tax documentation overlap more than most people realize, and the habits that keep your budget clean are the same ones that keep you safe in an audit.
IRS Publication 583 states that you need a system clearly showing your income and deductible expenses, with supporting documents like receipts and invoices kept on file. A photo of a receipt alone is a weak piece of evidence compared with a categorized, exportable summary tied to that image.
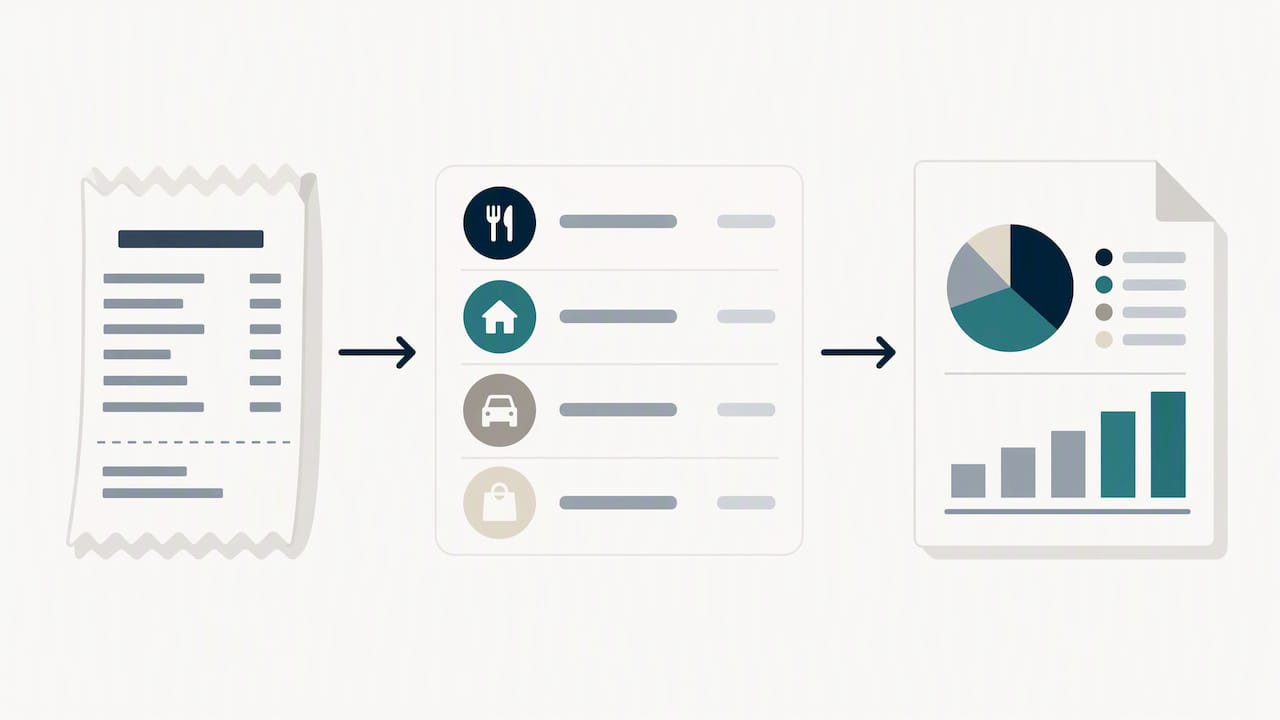
The IRS has specifically noted that examiners may request backup files and administrator access to electronic accounting software records during an audit, which means your app needs to produce a readable export, not just a login screen.
A practical audit-ready checklist looks like this:
- Export monthly or quarterly summaries in CSV and PDF, not just screenshots.
- Keep an accounting backup file your app can generate on demand.
- Separate business and personal receipts into distinct categories or accounts from the start.
- Retain records for at least three years, longer if your situation involves underreported income or specific deduction rules.
- Store both the receipt image and the categorized line item together, so one backs up the other.
If you run a small business and mix personal and business spending in one account, this separation step is the one most people regret skipping after the fact.
Common mistakes and quick fixes
Most receipt-tracking failures are not technology problems. They are habit problems that show up weeks later as a pile of unsorted transactions.
- Capture delay: Receipts pile up in a bag or glovebox until they fade or disappear. Fix it with the two-second rule and a backup envelope for the days you forget.
- Skipping weekly verification: OCR occasionally misreads a total or assigns the wrong category, and those small errors compound. A five-minute weekly scan catches most of them before they affect your monthly numbers.
- Over-categorizing: Twenty tiny categories feel organized but bury the signal you actually need. Stick to a handful of broad categories that map to real budget decisions.
- Not matching receipts to bank transactions: Skipping this step lets duplicate charges and missed entries slip through unnoticed.
- Forgetting to back up exports: Label your archive files by year and store them somewhere separate from your phone, so a lost device does not mean lost records.
Pro Tip: Pick three to five spending categories that match your actual budget line items, not your mood. “Food,” “transportation,” and “subscriptions” tell you more than ten micro-categories ever will.
If you want free comparisons of low-cost tools before settling on one workflow, this list of free financial wellness tools is a useful starting point.
How Vala maps to the receipt-tracking workflow
Vala handles the full loop this guide describes. Receipts get categorized automatically with AI, recurring charges and subscriptions surface through our Money Leak Check, and shared costs split cleanly between partners or roommates without a separate spreadsheet.
Against the checklist above, Vala covers capture and categorization, bank-sync verification, and exportable summaries you can hand to a tax preparer or keep as your own backup. We built the Money Leak Detector specifically to catch the recurring charges that quietly erode a budget between monthly reviews.
If you want a walkthrough of the onboarding steps rather than the checklist version, our simple guide to tracking expenses covers account setup and first-week habits in more detail.
Our take on sticking with the habit
Pick one capture habit, the two-second rule or the photo-on-the-spot method, and run it for a full month before judging whether it works. Block 15 minutes on your calendar each week for the verification pass; treat it like a recurring appointment, not an afterthought. The habit fails more often from inconsistency than from a bad app choice.
— SaverStride
Try the workflow yourself
If you want to test this workflow before committing, we built Vala to handle each step: snap a receipt, let AI sort the category, export a summary, then run a Money Leak Check to see what subscriptions or recurring charges are quietly adding up.

Before you commit to any plan, match the app against the checklist from earlier in this guide, capture quality, categorization, bank sync, and export formats, and see how it holds up.
- Capture a receipt and check how the OCR reads it.
- Review the auto-categorization against your own budget categories.
- Export a sample CSV or PDF to see if it is audit-ready.
- Run a free Money Leak Check to spot recurring charges.
| Workflow step | What to test in a trial |
|---|---|
| Capture | Photo scan accuracy and multi-page handling |
| Categorize | Auto-tagging against your real budget categories |
| Export | CSV and PDF summaries ready for taxes |
| Money Leak Check | Detection of recurring or forgotten charges |
Our SaverPro plan runs at an affordable monthly rate for full access to these tools, or you can start a free trial first and decide once you have seen it work on your own receipts.
This article is general information, not a substitute for advice from a qualified financial advisor. Consult a qualified financial professional about your own circumstances before acting on anything here.
FAQ
What money tracking apps are recommended on Reddit?
Reddit threads on budgeting commonly mention a mix of free and paid expense trackers, with recommendations varying widely by whether the user wants manual entry, automatic bank sync, or shared-expense splitting. There is no single consensus app, so it is worth matching any recommendation against your own feature checklist, capture, categorization, and export, rather than picking by popularity alone.
What is the $75 rule for receipts?
The “$75 rule” is a common misconception; there is no blanket IRS rule exempting receipts under $75 for general expense tracking. IRS Publication 583 asks taxpayers to keep documentation supporting income and deductible expenses, and specific exceptions depend on expense type and context, so check current IRS guidance for your situation rather than relying on a flat dollar threshold.
What is the best app to track receipts and expenses?
The best app depends on whether you need simple capture, automatic categorization, bank syncing, or shared expense splitting. Vala combines AI-driven categorization, Money Leak Check for recurring charges, and exportable summaries in one workflow, which covers most of the checklist a budgeting-focused user needs.
What is the best scanner for receipts?
A smartphone camera paired with an OCR-capable budgeting app is typically enough for personal or small-business use, since dedicated scanner hardware adds cost without much added accuracy for everyday receipts. Forbes Advisor’s review of receipt scanner apps notes that apps integrating with bank feeds reduce reconciliation work more than scanner hardware alone.
How long should I keep digital receipts for taxes?
A common guideline is at least three years from when you filed, though longer retention applies in specific situations such as underreported income. IRS recordkeeping guidance recommends keeping both the receipt image and a categorized summary together for that period.
Sources
- Recordkeeping | Internal Revenue Service
- Track your spending with this easy tool | Consumer Financial Protection Bureau
- Best receipt scanner apps | Forbes Advisor